Pages


Showing posts with label test photos. Show all posts

Wednesday, September 7, 2011

Looking at Your Listings as a Buyer Would

I have never had the oppurtunity to look at my Etsy page with a shopper until today, and what an eye-opener it was.  I now realize why it's so hard to sell my beads.  Below is my primary picture.  I felt this showed how pretty each bead was best.  She asked me what they were and how they were used.
 I then had her click the view below and immediately, she got it.  "oooh...I want a pair of earrings in these colors, showing me which ones on the picture.
I've tried very hard to photograph my beads as accurately and attractively as possible, but as a seller.  I'm thinking of how the colors and texture and clarity come out and she's thinking how do I use this?  I'm going to start changing a few things in the way I photograph and props.  She knows what she wants, I have to show her what I have in a way she'll find it.  It was an aha! moment in a dreadful day and the little light it lit was more precious than rubies. 

At my day job we don't have problems, we have oppurtunities.  Personally I think this is a bit of risible spin doctoring but in this case, I see my oppurtunity and I'm going to see where it takes me.
Here's a picture of the finished earrings.  I hope they are what she had in mind...

Tuesday, September 6, 2011

Natural vs. Artificial Light

I hate dark weather, not only because my pictures come out lousy, but because I'm solar powered and my mental health suffers during periods of prolonged cloudiness.  I've got this light that's supposed to mimic natural daylight but I'm  beginning to find it useless.  Not only does it not portray colors quite right, it does nothing at all to warm up my mood.  Here are a couple pictures to illustrate.
This one's in natural, albeit dim light.

This one's done with my supposedly full spectrum bulb.  What a difference.  The first looks more like the bracelet, but the second was all I could do after I reworked it.  It's a nice, clear picture but doesn't look much like the bracelet.

I'm sticking to natural sinlight when I get it.

Tuesday, June 28, 2011

'Tis Better to Light a Candle than Curse the Darkness

 Yesterday was beautiful, sunny and just the right temperature.  It was, in short, the perfect day to take pictures of the beads I've got piling up for listing.  By the time I got home from the day job, it was too late to do anything more ambitious than make dinner and catch up on my down time.  I did not take advantage of the fading light to photograph anything.
 Today dawned hazy and, indeed, while I was slogging off to the bank and grocery store, errands that needed to be done if I wanted the cats to let me back in, there were even a few brief moments of hazy sun.  This was not destined to last and as I put the last can of cat food away, the sun went behind a cloud for good.
 I was forced to decide whether to list these with pictures taken with artificial light, not showing their best, or wait until the sun reappeared and hope I was at home when it did.  This deep transparent purple vessel actually doesn't look too bad.  It looks a bit better in sunlight, of course, because it is transparent and artificial light doesn't show this well but if I have to use these pictures I could.
 This vessel, made with CiM Sangre, is not going up until I can get a decent picture.  The one on my hand isn't bad but it's nowhere near as red as it is in real life.
 This one isn't as good.  I had to use a lot of editing stuff, and it looks it.  The others I took aren't even this good...
So is it better to light a candle or curse the dark?  Not sure.  I'll light a candle anyway but still curse.

Sunday, June 19, 2011

Of Beads and Pictures

 My "studio" has been invaded by wildlife, of a glass variety.  This little cutie showed up yesterday and I'm hoping to find him a good home.  He's just over 1 1/4" long including his vessel.  Snout to tail, I guess he's about the same, but he wiggled a little.
 The leopard may not have changed his spots, but some of them are on this Euro style bead.  It's a shame that the color doesn't show up very well in this picture.  The one above is the most true to the color of the bead, and the one below is most like how it actually looks.  I hate the way the first picture looks so photoshopped too.  Meh...

Monday, June 13, 2011

Decent Pictures?

 I'll be the first to admit that I am photographically challenged.  There are a couple of reasons for this.  The first is that my camera and setup are miserable and the second is that I am working on my attitude towards taking pictures of my work.  I've always had a casual attitude about pictures in general, something like "I know what it is."  This doesn't work for trying to sell things.  I am working on improving both my attitude and my ability.  Above is a picture of a pair of earrings I recently listed on Etsy.  I'm really happy with the way it turned out.  Below is a picture of the best I would have been able to do before I figured out how to use that part of my editing software.  It's a decent picture, but in the one above, these earrings really shine.

Same with these beads.  This one's with software, and below is without, and I am very happy with how the software works.

 Of course, there are still things I don't know how to do, and one of them is to make things show up well on black.  My pictures are either washed out of blurry, or both.

Here are the watermelon beads I just listed, and I am happy with the picture above both because it spotlights the beads and because it is a slightly different composition than the ones I've used before.

Sunday, June 12, 2011

Taking on the Learning Curve

 I'm trying out new stuff again and this means making a few mistakes.  Case in point:  Blown vessels.  I've been making some good ones by coiling glass on the mandrel but they come out a bit solid.  These are nice and lightweight but ugly and holy.  The one that looks whole is cracked.  It cooled off too much before being annealed.  It's also fugly.
 This guy's cute even if he is a little twisted.
 My hands do get truly filthy cleaning beads.
 I seem to have a lot of room to improve on this.
The biggest problem:  Gravity works.  Need to set the hole a little higher on the bead if I want him to fly right side up.

Thursday, June 9, 2011

Warning: Excessive Photo Content

This is why I hate taking pictures.  I take about a million pictures of something I have made and they all turn out to be not quite what I see. 

This is a nice vessel.  It's hollow.  It's a pretty color.  I like to think that it is saying what I want it to say.  But these pictures don't convey the size and weight of it, nor the volume of what it holds, nor the way the light really hits it.

 This picture is ok.  It shows at least how big it is, and a little of the way the light looks when it goes through it.
 This shows the color and all, but I'm not exactly thrilled.
 We're not getting better.  Quit while I'm ahead.
This is a cool necklace.  I had a lot of fun making it and am really happy with the way the beads turned out.  So can I take a decent picture of it?  Not a chance, but not for want of trying.  Thirteen pictures were worth fooling around with, and none of them show what it looks like in my hand.

This one's pretty, at least.

Got some nice sparkle from the light on this.  I made that clasp myself.

Here's that close up.  Note the natural sunlight.

Yep, it's a pile of beads.

 What was I going for here?  Don't know.  It's a good picture, but of what?
Not doing it for me, sorry.  Good picture--everything in focus, pretty good detail, It's got nice color and composition, but it's not happening.

This does show what it would look like on the wearer, if the wearer is made of black velveteen.

There you go.  If in doubt, bring in the frog.  It may not show the necklace to its best advantage and I'm sure there's lots wrong with it as a composition or whatever else, but I like my frog, and he's making me happy.

Thursday, May 19, 2011

I hate taking pictures

 My camera stinks and I have no particular talent with it.  Having said this, you would think of the 30 pictures I took I would find more than 2 I could use.  Not so.  This is a pretty little necklace I made with lampwork beads and glass pearls, using pastel colors to pander to my springy mood.  On grey, it shows up pretty much how it looks, although I would like to photograph this as a necklace and not as a string of beads.  I have this neat necklace thing.  Let's try it on that.
Where'd the colors go?  Mind you, this is the best of the pictures I took on the black stand.  The contrast is too much for my miserable setup to handle.  This I got by pulling my lamp up as high as it would go and covering half of it with an envelope.  Bills are good for something after all.  And yes, the first picture did have a light baffle now that I think of it.  The cat was standing in front of the lamp.  Here kitty....

Thursday, July 29, 2010

Baking Soda Beads 2

 I was pretty happy about the beads I made with baking soda.  It adds a really unique finish to the beads and there is a lot of variation in the way it turns out.  Making earring pairs using this method is going to be a trick because even a pair made with the same glass at the same time may not match.
 The set on the right turned out pretty well.  I used a twistie made from CiM tuxedo and peace, then silvered ivory.  The silvered ivory turns out even more organic looking than usual, and the peace has a sort of translucency that the baking soda treatment doesn't entirely remove.
I like the way light transmits through the translucent beads in this batch.  It seems like the lighter the color, the "harder" the glass remains.  The 2 lightest transparent colors are Effetre light brown transparent and kelp.
 Here's a family portrait.  Like all family get togethers, a couple members didn't make it to the event, but they're around somewhere and if they're any good they will be photographed in due course.
 Here is where it gets weird.  The arrows point to two beads made with the same glass at different times.  Both were made using a clear core with a coating of some stringer made from copper green and olive.  I didn't do as good a job of covering the core on the bead on the left and the result is that it is lighter in color and almost translucent.  The bottom right bead with the arrow seems almost like partially polished old jade.
I told you this was strange.  The bead marked with the arrow in this picture is before cleaning.  It is actually darker with a hard, shiny, rough coating.  When I removed these from the mandrel and stuck them in a bowl of water to clean them, the coating sort of dissolved into a slimy mess and underneath was the top left bead in the picture above.  I liked the way the first green bead turned out and was trying to match it.  Obviously, this didn't happen, so I tried it again and am waiting to see how they turn out.

Tuesday, July 27, 2010

Tie Score

 I'll show the good beads first for a change.  I really like the baking soda beads that Andrea has been making at Powers Art Glass, so I decided to give it a try with different colors and textures.  I found that different glasses react very differently to baking soda.  All look super-etched, but some look like they've boiled on the surface and others do not.  In addition, the metal salt used to color the glass comes out in some of the colors.  Pardon the color of these pictures.  I wanted something positive to say and took these on the end table with yellow artificial light.


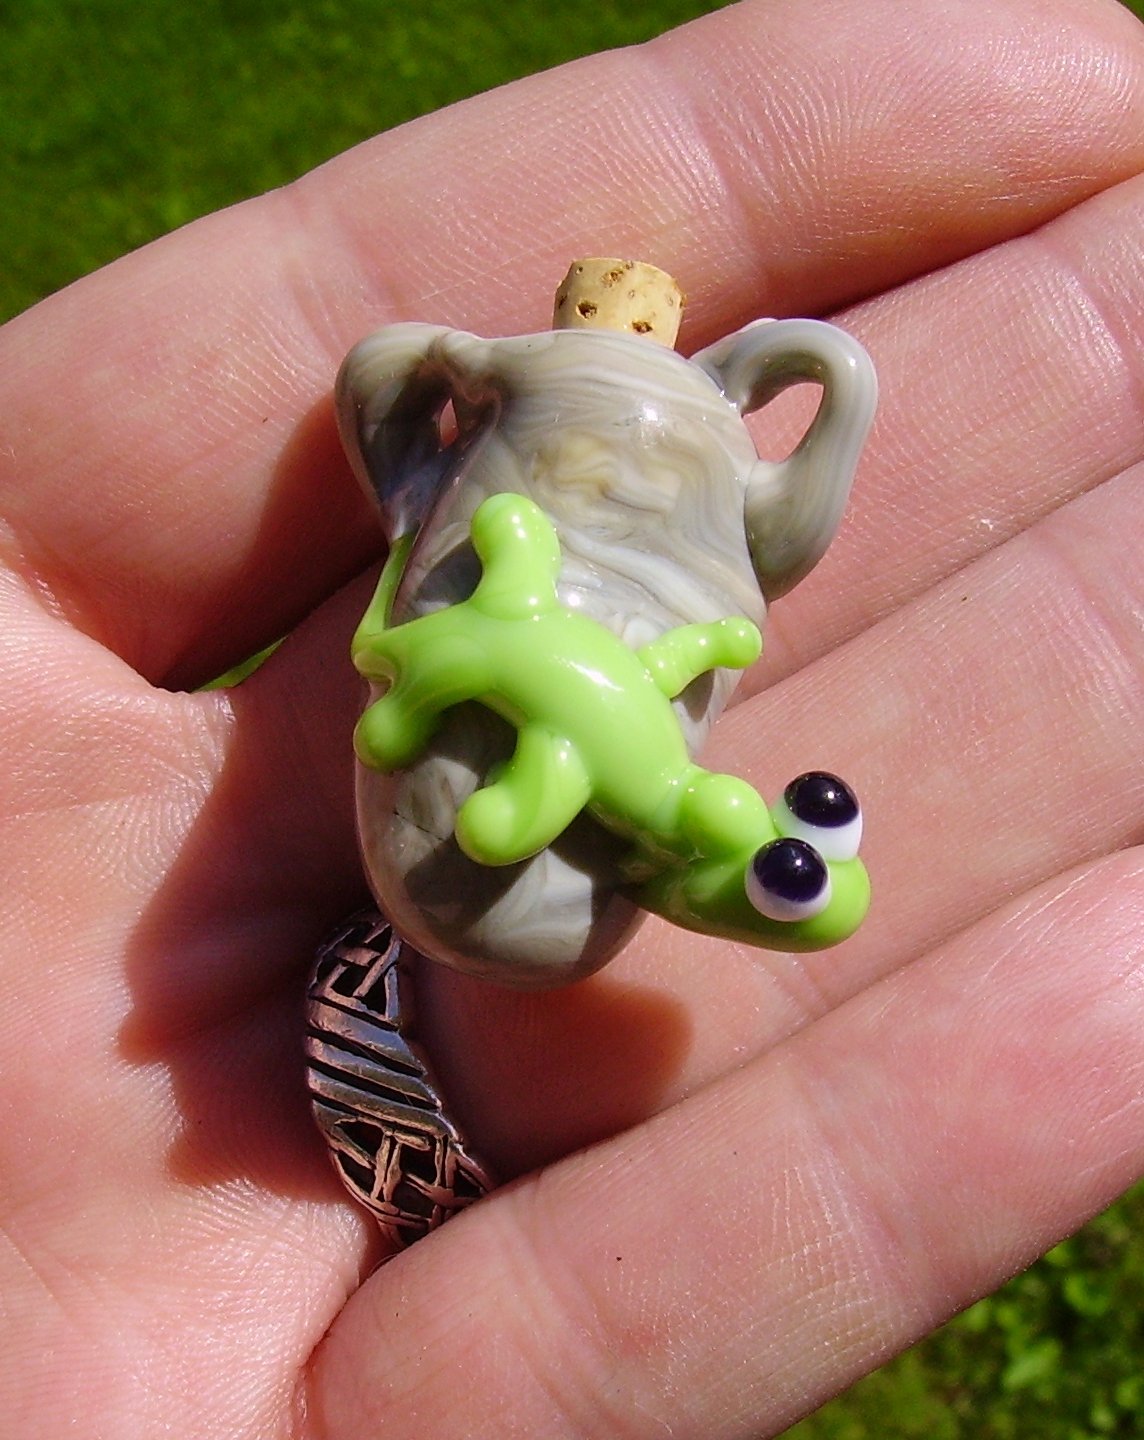
 I would be hard pressed to say exactly what is in the left 2 beads in the photo above.  I had a bunch of stringer and twistie lying on the bench and pretty well applied it all over a base of clear.  These look wild.  The second 2 on the top picture and the left 2 on the middle picture were made with a twistie of tux and peace wrapped around a core of clear, then the space between the loops filled in with silvered ivory stringer.  I would be wrong no matter what I said the right 2 beads are in the middle picture.  Copper green was involved.  And some odds and ends of twistie and such from the bench.  I seem to think I made a twistie of CiM chai unique and DH aurae that isn't on the bench anymore.  I'll have to check the floor, otherwise it's either in these or the first 2.  I think it was the first 2, because these have a green cast that I think comes from the copper green.
Transparent glasses didn't do much for me using this treatment.  They seem to be "harder,"  to use a vague term.  In these, the baking soda just looks like a heavy etching.  The feel of the top bead on the left is odd, kinda soapy.  Underneath it on the left is bordello, which looks ok.  CiM adamantium with silvered ivory looks pretty cool, but you can only see the top here.  Effetre kelp is pretty boring as well.  Ivory pastel over clear is very boring indeed.  I thought it might do something neat since it's so soft and prone to boil anyway, but no, it had to behave itself.  I can't remember what the top bead on the right is, but I'm thinking odd lots of stringer.  The one underneath is as cool as it gets.  It looks from here kind of like a pierced pea, but in real life it looks like carved rough green turquoise or something.  It is a stringer made from copper green striped with CiM olive and wrapped more or less randomly over a clear core.  The last bead is just olive.  It looks ok but does not do anything weird.
 Can't put it off anymore.  The shoes aren't happening.  I've been trying to make a shoe that's daintier and more foot-shaped and by reducing the glass around the mandrel and shaping it too close to the mandrel, every bead I've made has cracked.  These three are the most intact.  The one I'm holding (together) held up through cleaning and I was going to photograph it and try to reproduce it, but I noticed a whitish line across the instep.  I applied a little pressure and the bead snapped in half.  I can make these shoes as chunky and heavy or not at all.  Rats.
Here's the pile of shame.  Note one of them even has a stilletto heel.  It couldn't hold up, though.  Back to the drawing board.